No-Fail Basque Burnt Cheesecake Recipe
Burnt Cheesecake Recipe | No-Fail Step-by-Step Basque Burnt Cheesecake
If you’re looking for a Burnt Cheesecake Recipe that’s rich, creamy, smooth, and incredibly easy to make, this recipe is for you. This Burnt Cheesecake Recipe is beginner-friendly and follows a simple, no-fail step-by-step process, making it perfect whether you’re baking your very first cheesecake or you’re already an experienced home baker.
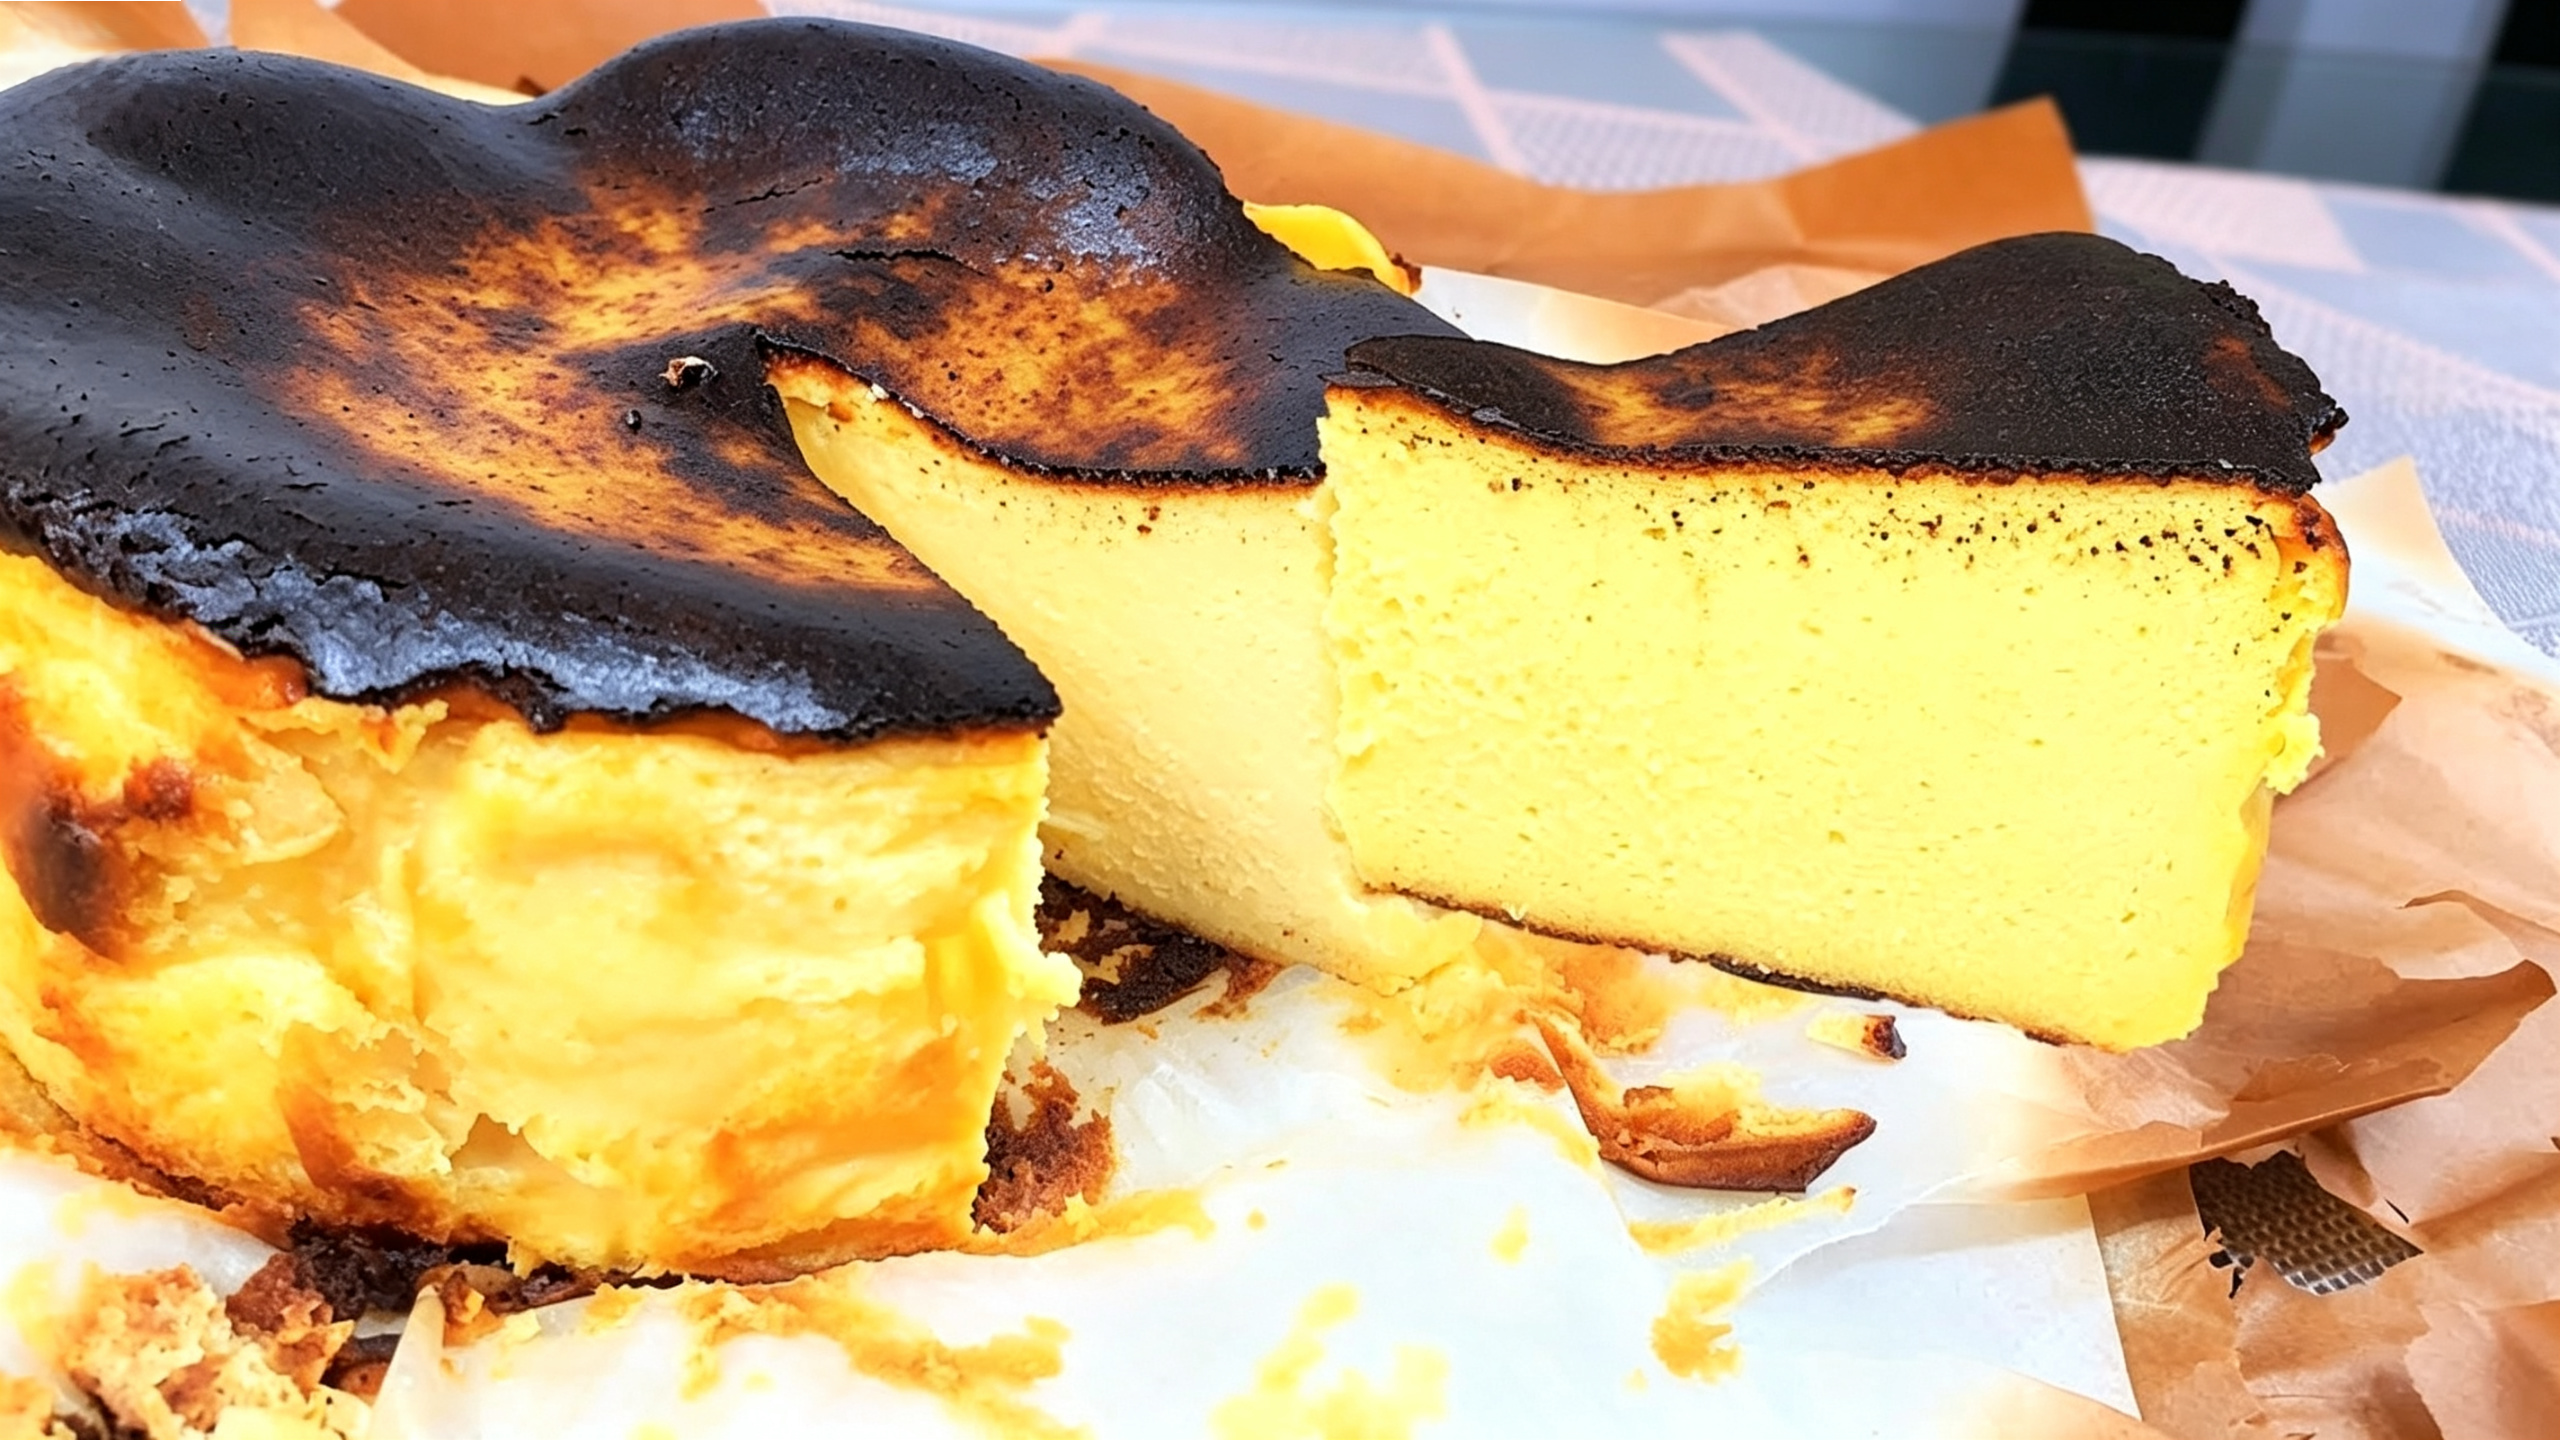
Unlike traditional cheesecakes that require a water bath and careful temperature control, this Burnt Cheesecake Recipe embraces its beautifully rustic appearance. Its signature deeply caramelized top isn’t a mistake – it’s what gives this famous Basque-style cheesecake its unique flavor and character. Beneath that dark, caramelized crust is a soft, silky, and creamy center that practically melts in your mouth.
Originally inspired by the famous Basque Burnt Cheesecake from Spain, this dessert has become a favorite around the world because of its rich flavor and surprisingly simple preparation. There are no complicated techniques involved, and you don’t need fancy equipment to achieve impressive results.
What makes this Burnt Cheesecake Recipe even more special is its perfectly balanced ingredients. The combination of cream cheese, all-purpose cream, evaporated milk, and egg yolks creates a luxurious texture that’s creamy without being overly dense. The lemon juice adds just the right amount of brightness to balance the richness of the cheese and cream, while the lightly caramelized top brings a subtle bittersweet flavor that complements every bite.
One thing you’ll immediately notice in my video is that my cheesecake has a very dark top. This is completely intentional. I personally prefer baking it a little longer because I enjoy the deeper caramelized flavor and the classic appearance of a traditional burnt cheesecake. If you prefer a lighter-looking cheesecake, don’t worry – you can simply bake it at a slightly lower temperature or reduce the baking time by a few minutes while still achieving a deliciously creamy center.
Whether you’re making this dessert for birthdays, holidays, family gatherings, special occasions, or simply to satisfy your cheesecake cravings, this Burnt Cheesecake Recipe is one you’ll want to make again and again. It’s rich, elegant, and surprisingly easy to prepare, making it a wonderful dessert to share with family and friends.
8 Helpful Tips for the Perfect Burnt Cheesecake Recipe
- Use room temperature cream cheese for a smooth, lump-free batter.
- Beat only at low speed. Overmixing incorporates too much air, which can cause cracks or excessive puffing.
- Do not add the next ingredient until the previous one is fully incorporated. This helps produce a silky smooth cheesecake.
- Add one whole egg first before the egg yolks. This helps the eggs blend more evenly into the batter and minimizes any eggy flavor.
- Strain the milk mixture before combining it with the cream cheese mixture to remove any lumps.
- Do not overmix after adding the flour and cornstarch. Mix gently just until everything is combined.
- My cheesecake has a very dark top on purpose. I personally prefer the deeper caramelized flavor that comes from baking at 220°C until the top becomes almost black. If you prefer a lighter-looking cheesecake, bake at 210°C or reduce the baking time by 2-5 minutes. Every oven bakes differently, so watch the cheesecake during the last few minutes of baking.
- Do not judge the cheesecake immediately after baking. The center should still have a slight jiggle when removed from the oven. It will continue to cook from the residual heat and become firmer after cooling and chilling in the refrigerator for several hours or overnight.
No-Fail Basque Burnt Cheesecake Recipe
Ingredients
- 500 g cream cheese 2 packs, 250 g each
- 6 tbsp white sugar
- 1 whole egg
- 4 egg yolks
- 2 tbsp all-purpose flour
- 1 tbsp cornstarch
- 2/3 cup evaporated milk
- 250 ml 1 pack all-purpose cream
- 1½ tbsp lemon juice
Instructions
- Using an electric mixer, beat the cream cheese on low speed until smooth and creamy.
- Add the sugar and continue mixing on low speed until fully incorporated. Do not add the next ingredient until the sugar is completely mixed.
- Add one whole egg and beat on low speed for about 20 seconds. Make sure it is fully incorporated before adding the egg yolks.
- Add the egg yolks one at a time, beating on low speed for about 10 seconds after each addition.
- In another bowl, combine the all-purpose flour and cornstarch.
- Add the evaporated milk and mix until smooth.
- Add the all-purpose cream and mix well.
- Slowly pour the milk mixture into the cream cheese mixture through a strainer. Gently mix by hand until combined. Do not overmix. Add the lemon juice and stir gently.
- Line a 7-inch round baking pan with parchment paper.
- Pour the batter into the prepared pan.
- Bake in a preheated oven at 220°C for 30–35 minutes, or until the top is deeply caramelized and the center still has a slight jiggle when gently shaken.
- Cool at room temperature for about 1 hour before refrigerating for at least 4 hours, preferably overnight, to allow the cheesecake to fully set.
Storage
Refrigerator – After baking, let the cheesecake cool at room temperature for about 1 hour. Refrigerate for at least 4 hours, but for the best texture and flavor, chill it overnight before serving. Store any leftovers in an airtight container or cover the pan tightly with plastic wrap. Refrigerate for up to 5 days.
Best Served Cold – For the best creamy texture and flavor, serve the cheesecake straight from the refrigerator. Chilling allows the cheesecake to fully set and enhances its rich, smooth consistency.
Frequently Asked Questions
Q: Why is it called Burnt Cheesecake?
A: The dark caramelized top is intentional and gives the cheesecake its signature rich flavor while keeping the inside creamy.
Q: Is the center supposed to be soft?
A: Yes. The center should still jiggle slightly when removed from the oven. It will continue to set as it cools and after chilling.
Q: Why do I need to refrigerate it before serving?
A: Chilling allows the cheesecake to fully set, resulting in a smoother, creamier texture and better flavor.
Q: Can I reduce the baking temperature?
A: Yes. If you prefer a lighter-colored top, bake at 210°C instead of 220°C. You may need to add a few extra minutes of baking time depending on your oven.
Q: Can I use fresh milk instead of evaporated milk?
A: Evaporated milk gives a richer flavor and creamier texture. Fresh milk can be used, but the final result may be slightly less rich.
Q: Why should I use room temperature cream cheese?
A: Room temperature cream cheese mixes more easily and produces a smooth, lump-free batter.
Q: Why do I strain the milk mixture?
A: Straining helps remove any lumps, resulting in a silky smooth cheesecake.
Q: Can I make this a day ahead?
A: Absolutely. In fact, many people find that burnt cheesecake tastes even better the next day after it has chilled overnight.
Burnt Cheesecake Recipe Video
For more recipe videos, visit our YouTube channel, Onyok Kokok, by clicking the link below.
https://www.youtube.com/@onyokkokok8538
Discover more step-by-step written recipes by clicking the link below.
Filipino Recipes & Cooking – Welcome to Onyok Kokok Kitchen
Final Note
This Burnt Cheesecake Recipe proves that sometimes a beautifully “burnt” dessert is exactly what makes it unforgettable. The deeply caramelized top balances perfectly with the creamy, rich center, creating a dessert that’s simple yet elegant. Don’t be afraid if your cheesecake looks darker than a traditional cheesecake – that rustic appearance is part of its charm. Feel free to adjust the baking temperature or time to match your preferred level of browning, and most importantly, allow the cheesecake to chill well before serving. I hope this recipe becomes one of your favorite homemade desserts that you’ll enjoy making again and again.