Soft Ensaymada Recipe – Foolproof No Mixer Filipino Bread
Soft Ensaymada Recipe (No Mixer) – Super Soft and Fluffy Homemade Ensaymada
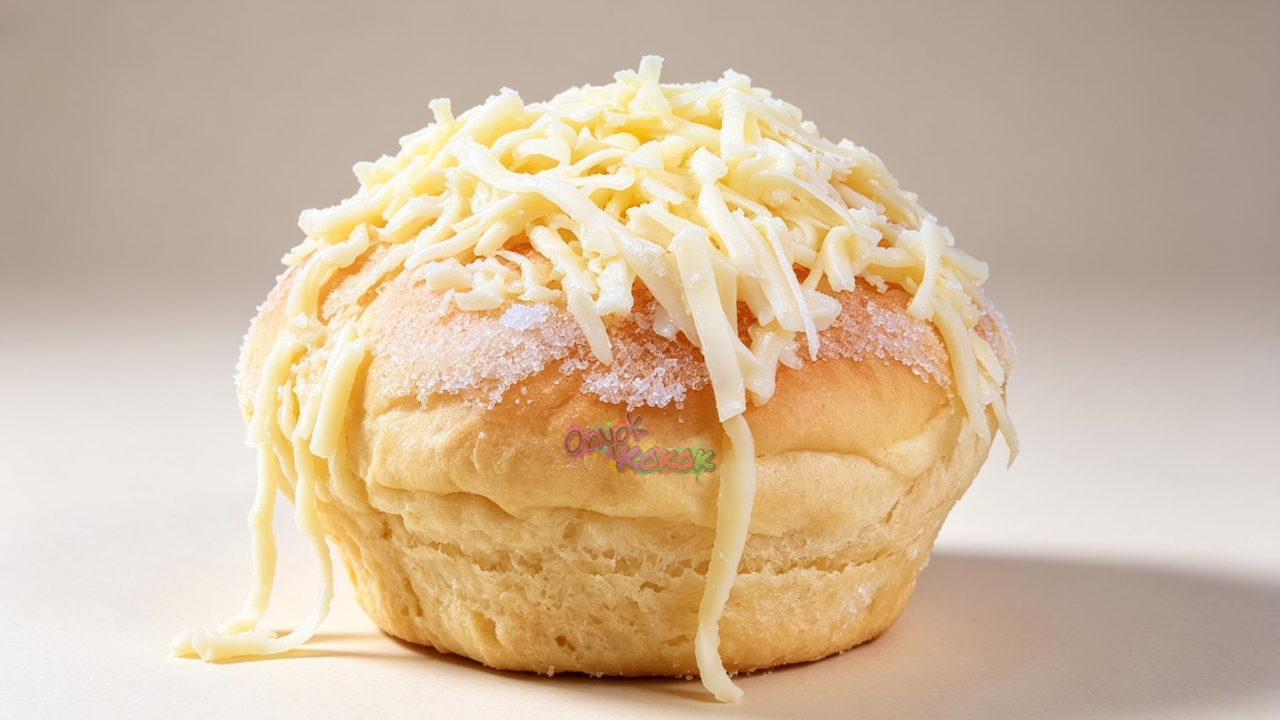
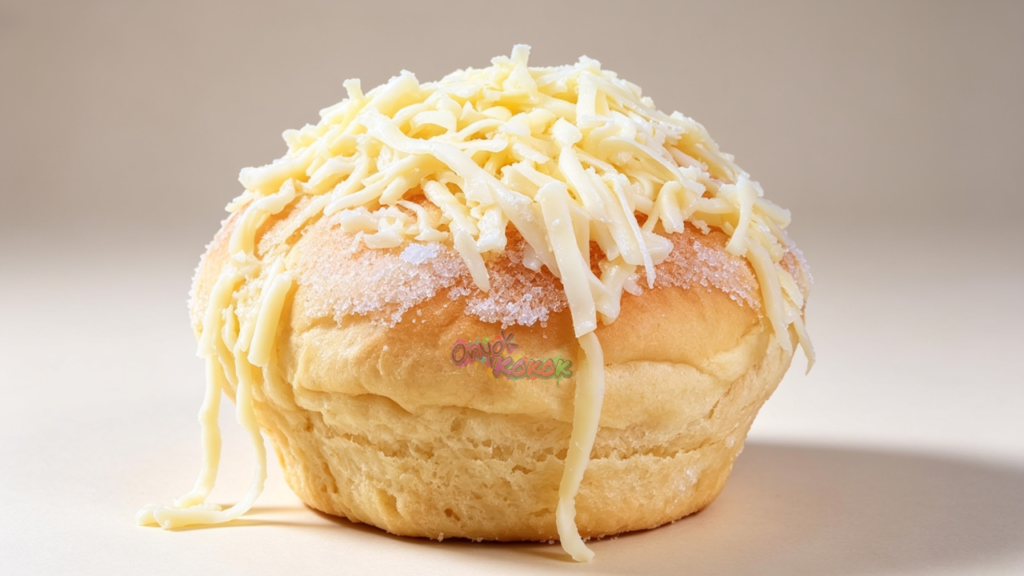
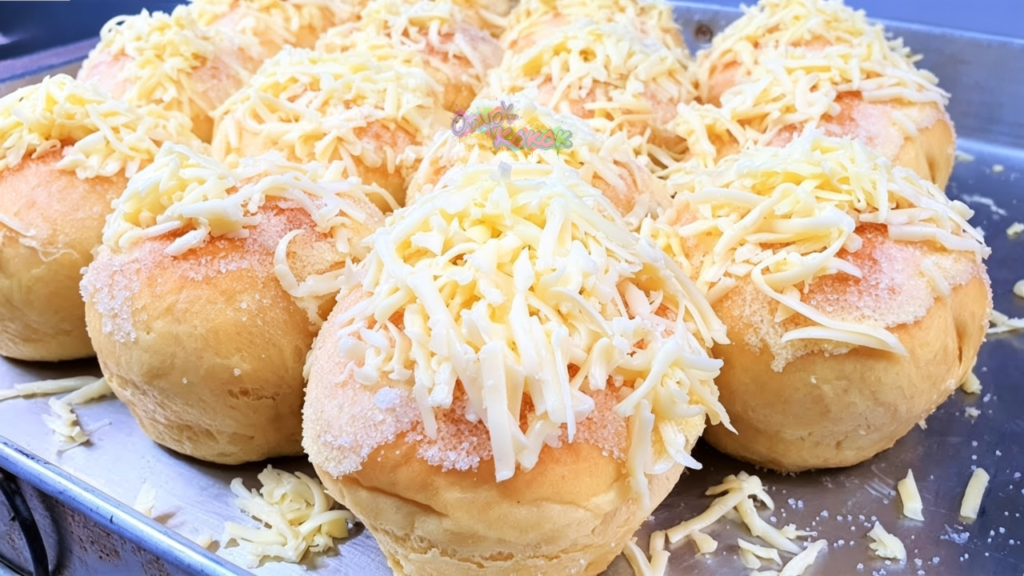
If you’re looking for the best soft Ensaymada recipe without a mixer, you’ve come to the right place. This homemade Filipino Ensaymada is incredibly soft, fluffy, buttery, and topped with sweet buttercream, sugar, and grated cheddar cheese. The best part? You don’t need a stand mixer to achieve bakery-style results.
After trying several Ensaymada recipes, I found one simple ingredient that made a huge difference – cornstarch. Since cornstarch contains almost no protein, it doesn’t develop gluten like flour does. This helps create a finer, softer crumb, resulting in an Ensaymada that’s tender, light, and stays soft even after cooling.
This recipe is also beginner-friendly. Everything is mixed by hand, making it perfect for home bakers who don’t own expensive baking equipment. Just follow the measurements carefully and you’ll be rewarded with soft, fluffy Ensaymada every time.
Whether you’re making these for breakfast, merienda, holidays, or to sell, this recipe is definitely worth keeping.
7 Tips for the Softest Ensaymada
1. Bloom the instant yeast first
Although instant yeast can usually be mixed directly with the flour, blooming it first helps confirm that the yeast is still active. If the mixture becomes foamy after 5–10 minutes, your yeast is alive and ready to use. If nothing happens, it’s best to use a new batch of yeast before continuing.
Make sure the water is only warm, not hot. Water that’s too hot can kill the yeast.
2. Don’t add too much flour while kneading
The dough will feel sticky during the first few minutes of kneading. This is completely normal.
Avoid adding extra flour unless absolutely necessary. Adding too much flour can make the bread dense and dry. Continue kneading for about 10 – 15 minutes and you’ll notice the dough gradually becomes smoother and easier to handle.
A lightly greased work surface or lightly oiled hands can help instead of dusting with lots of flour.
3. Cornstarch makes the bread softer
One of the biggest secrets behind this recipe is cornstarch. Unlike flour, cornstarch contains almost no gluten-forming protein. When combined with all-purpose flour, it slightly reduces overall gluten development. The result is:
- Softer crumb
- More tender texture
- Lighter bite
- Fluffier bread
Cornstarch is commonly used in cakes and pastries to improve tenderness, and it works wonderfully in this Ensaymada recipe.
4. Can I use bread flour instead of all-purpose flour?
Yes, but expect a slightly different texture. Bread flour contains more protein than all-purpose flour, which develops more gluten. This creates a chewier bread with a little more structure. If you prefer an extra soft, melt-in-your-mouth Ensaymada like this recipe, all-purpose flour is highly recommended.
5. Why vegetable shortening is recommended
You can use butter, but vegetable shortening produces a softer Ensaymada. Shortening is 100% fat and contains no water. Because of this, it coats the flour more effectively, limiting gluten development and creating a softer, fluffier bread. Butter contains water, which can strengthen gluten slightly. While butter adds wonderful flavor, shortening generally gives a softer and lighter texture in enriched breads like Ensaymada. For the best of both worlds, this recipe uses shortening in the dough and butter in the topping.
6. Let the dough rise until doubled
Rising times are only estimates. Depending on your room temperature, the dough may need more or less time. Instead of watching the clock, wait until the dough has approximately doubled in size. Proper fermentation creates lighter, fluffier Ensaymada.
7. Cool before adding the butter topping
Allow the baked Ensaymada to cool for about 20 minutes before spreading the butter topping. If the bread is still hot, the butter will melt instead of staying creamy.
Soft Ensaymada Recipe – Foolproof No Mixer Filipino Bread
Ingredients
For the Dough
- 2¼ cups all-purpose flour
- 4½ tablespoons cornstarch
- ⅓ cup white sugar
- ½ teaspoon table salt
- ¾ cup evaporated milk
- 1 large egg
- 3 tablespoons vegetable shortening do not melt
- 1½ teaspoons instant yeast
- ¼ cup warm water
- 1 tablespoon white sugar for blooming
For the Toppings
- 40 grams butter softened
- 1 tablespoon evaporated milk
- Grated cheddar cheese
- White sugar
Instructions
- Combine warm water, yeast, and 1 tablespoon sugar. Let bloom for 5–10 minutes.
- In a large bowl, mix the flour, cornstarch, sugar, and salt.
- Add the evaporated milk, egg, and bloomed yeast mixture.
- Mix until combined using your hand.
- Add the vegetable shortening. Mix again.
- Knead for 10–15 minutes until the dough becomes smooth. It may not be perfectly smooth because of the cornstarch, which is normal.
- Lightly grease the dough with cooking oil.
- Cover and let rise for 1–2 hours or until doubled.
- Divide into 14 equal pieces (about 60 grams each).
- Shape each into a ball.
- Grease the Ensaymada molds with butter or oil.
- Place the dough into the molds.
- Cover and let rise again for 30 – 45 minutes or until doubled.
- Lightly mist the dough with water before baking.
- Bake in a preheated oven at 170°C (338°F) for 16 – 20 minutes.
- Cool the bread for about 20 minutes.
- Beat the softened butter until light and fluffy.
- Add the evaporated milk and beat again until smooth.
- Spread the butter mixture over each Ensaymada.
- Roll the top on sugar; sprinkle grated cheddar cheese.
- Serve and enjoy!
Other Ways of Cooking
Can I bake this in an air fryer?
Yes. If your air fryer is large enough to fit your Ensaymada molds, you can bake them at 160°C for approximately 10–15 minutes. Since air fryers vary by model, start checking a few minutes early to avoid overbrowning.
Storage
Proper storage helps keep your homemade Ensaymada soft and delicious for longer.
Room Temperature
Store the Ensaymada in an airtight container or tightly wrapped at room temperature for up to 2 days. Keep them in a cool, dry place away from direct sunlight to prevent them from drying out.
Refrigerator
Store in an airtight container for up to 5 days. Refrigeration can make the bread firmer, which is normal. Before serving, warm each Ensaymada in the microwave for 10–15 seconds or in a 150°C (300°F) oven for about 3–5 minutes to soften the bread again.
Freezer
For the best quality, freeze the plain baked Ensaymada without the butter topping, sugar, and cheese. Allow the bread to cool completely, then wrap each piece tightly in plastic wrap or aluminum foil before placing them in a freezer-safe bag or airtight container. They can be frozen for up to 2 months.
When ready to enjoy, thaw the Ensaymada at room temperature for 30–60 minutes, then warm in the microwave for 15–20 seconds or in a 150°C (300°F) oven for 5–8 minutes until soft. Let the bread cool slightly before spreading the butter topping, then finish with sugar and grated cheddar cheese.
Freezing fully decorated Ensaymada is not recommended, as the butter topping and grated cheese may become watery or lose their texture after thawing.
Frequently Asked Questions
Can I use butter instead of vegetable shortening?
Yes. Butter works well, but vegetable shortening produces a softer and fluffier Ensaymada in this recipe.
Can I use bread flour?
Yes, but the bread will be slightly chewier because bread flour contains more protein than all-purpose flour.
Why is my dough sticky?
Sticky dough is normal during the first few minutes of kneading. Resist adding too much extra flour because this can make the bread dense.
Can I skip blooming the yeast?
If you’re confident your instant yeast is fresh, you can mix it directly with the flour. However, blooming first is a good way to check that the yeast is still active.
Why do I need to cool the bread before adding the topping?
Cooling prevents the butter topping from melting and helps it stay light and creamy.
Soft Ensaymada Recipe Video
For more recipe videos, visit our YouTube channel, Onyok Kokok, by clicking the link below.
https://www.youtube.com/@onyokkokok8538
Discover more step-by-step written recipes by clicking the link below.
Filipino Recipes & Cooking – Welcome to Onyok Kokok Kitchen
Final Note
Making homemade Ensaymada doesn’t require expensive equipment. With simple ingredients, a little patience, and the addition of cornstarch, you can enjoy incredibly soft, fluffy, and delicious Filipino Ensaymada right from your own kitchen.
If you try this recipe, I’d love to hear how it turned out.