Lechon Kawali: Super Crispy, Super Tender
Lechon Kawali
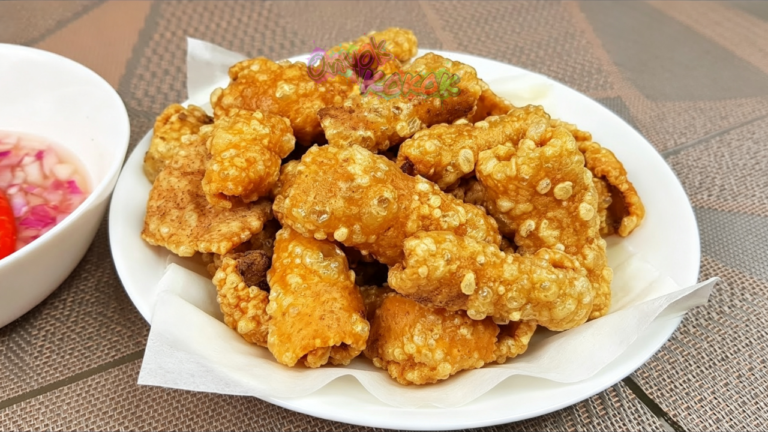
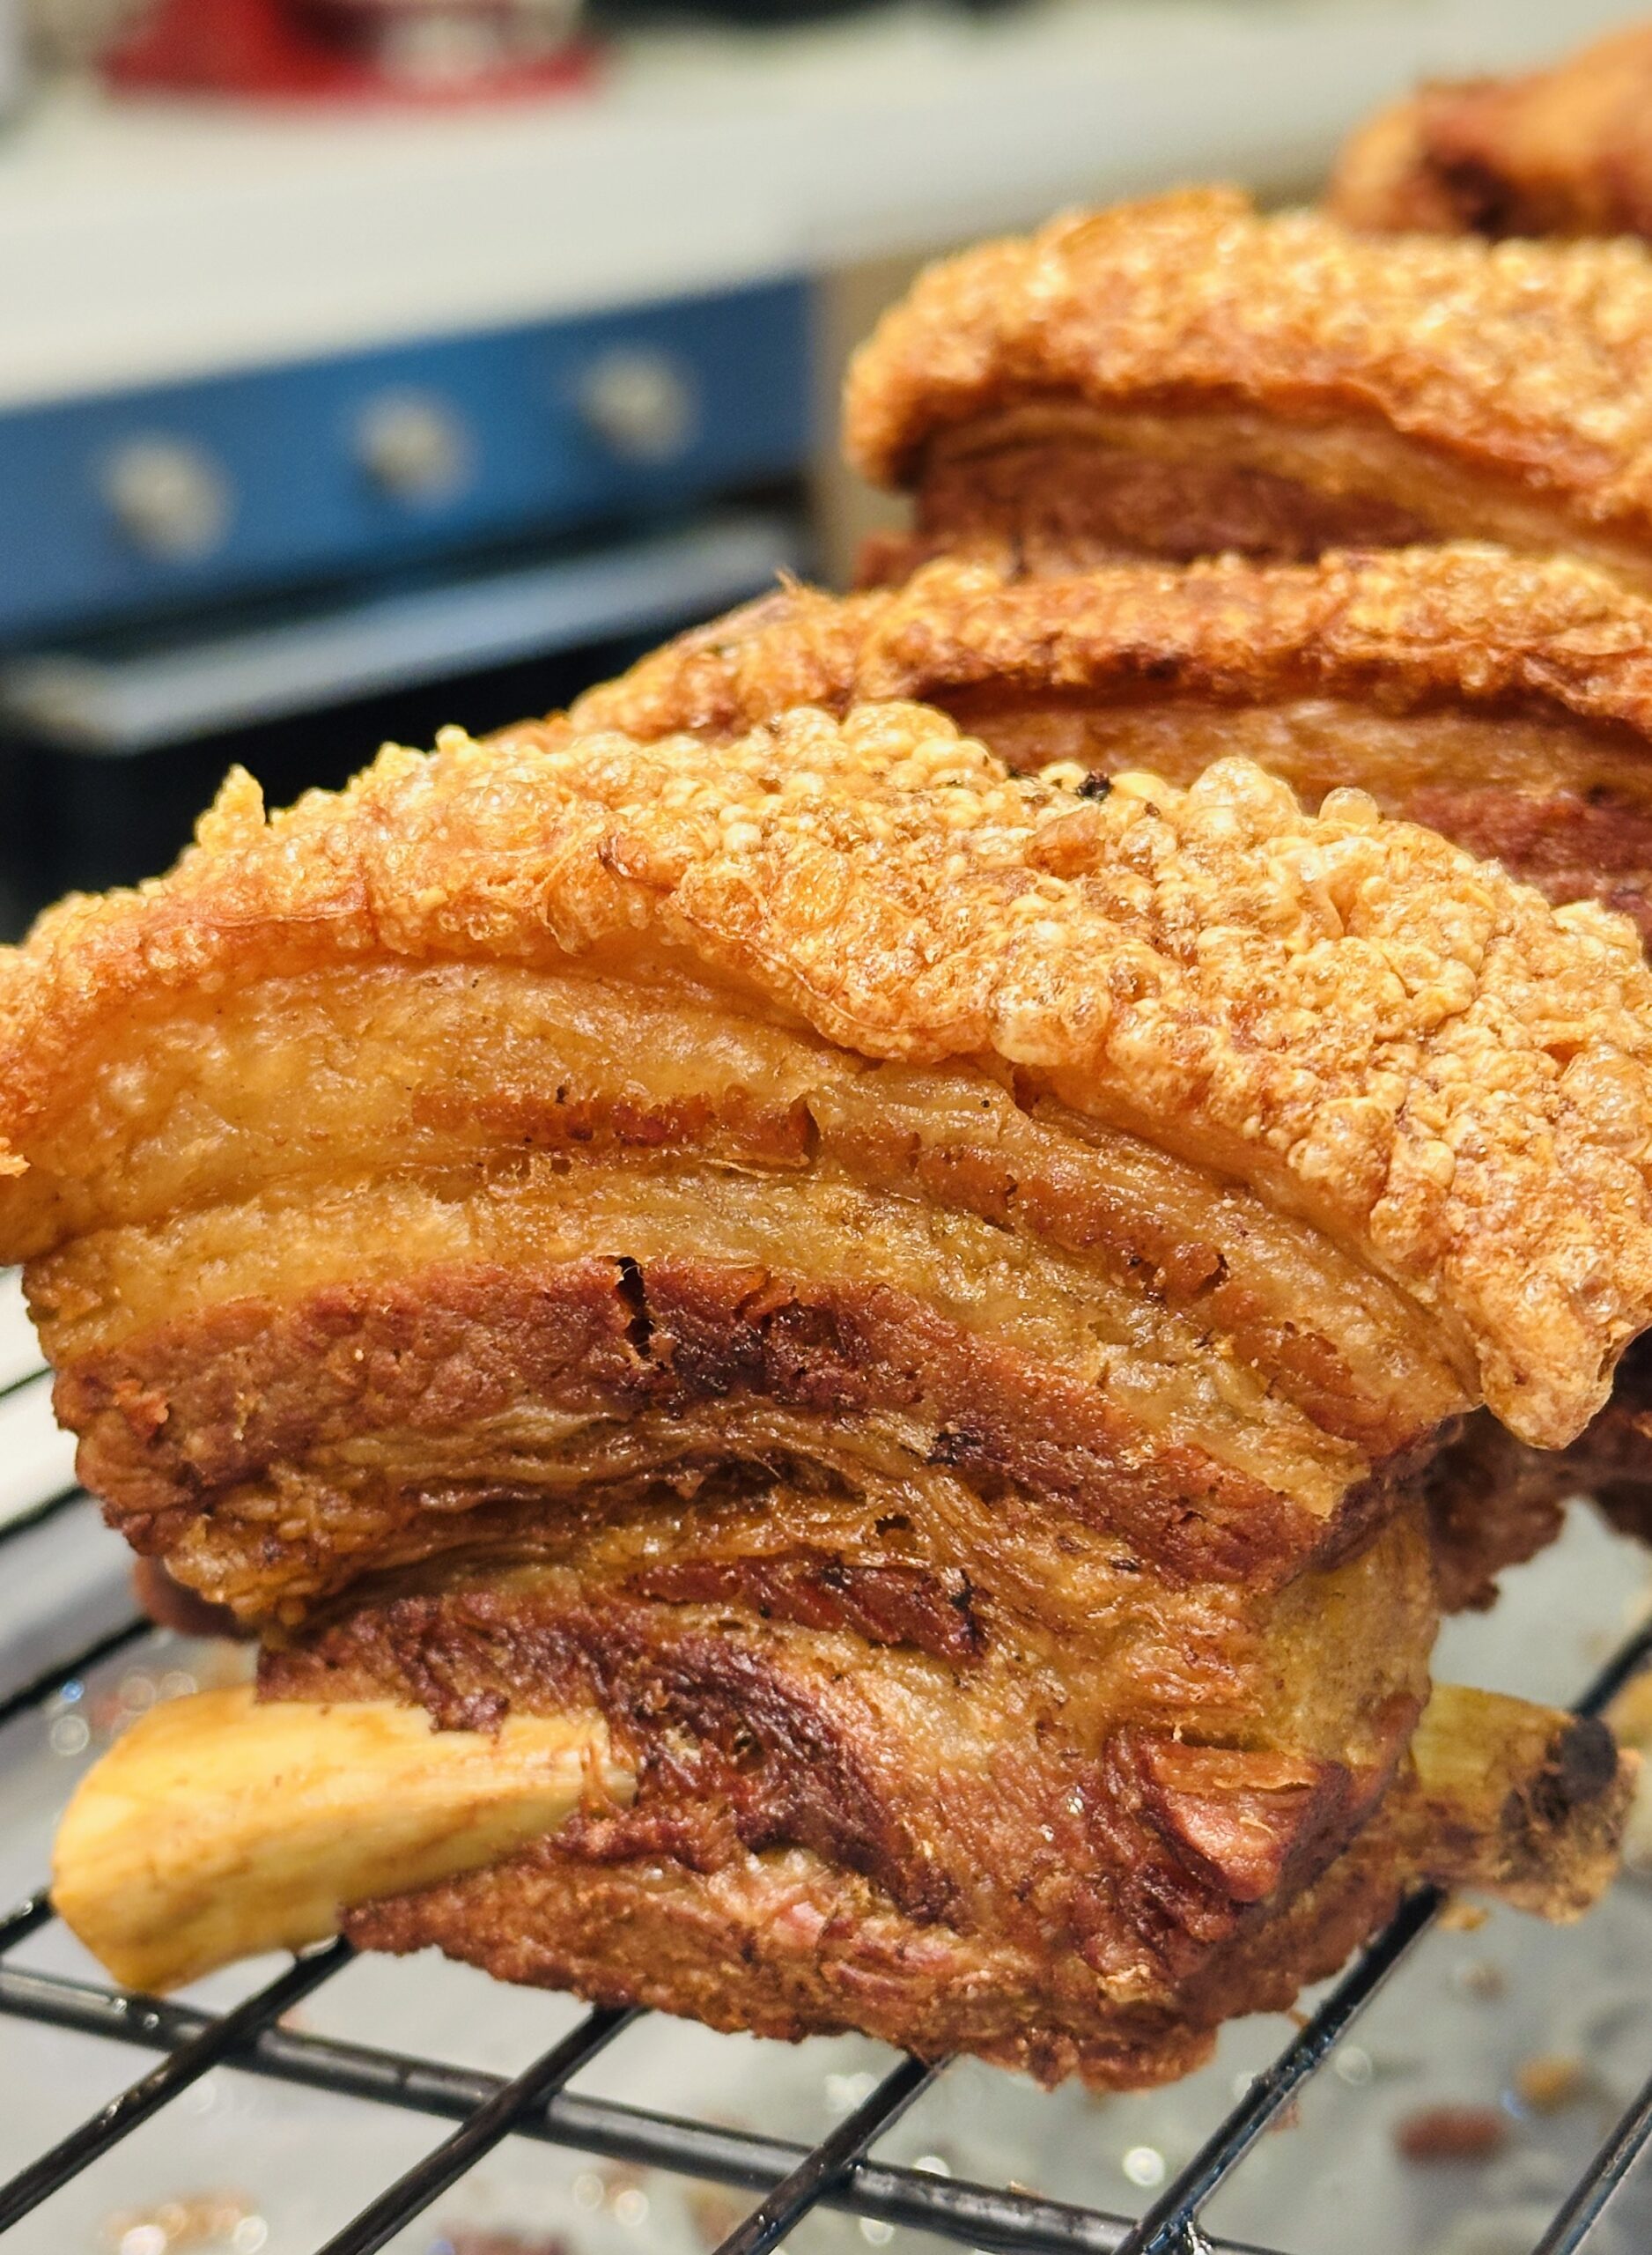
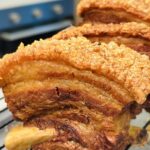
Lechon Kawali is one of my favorite Filipino pork dishes because it gives you the best of both worlds: incredibly crispy skin on the outside and tender, juicy pork on the inside. In this recipe, I’m sharing the technique I use to make Lechon Kawali with beautifully blistered and crackling skin without sacrificing the tenderness of the meat.
The key to this Lechon Kawali recipe is a two-stage frying method. Instead of trying to make the pork completely crispy in one frying session, we divide the process into two stages. The first fry is done slowly over very low heat to gradually render the fat and dry the skin. The pork is then rested before being fried a second time over very high heat. This final short fry creates the dramatic blisters and crispiness that make good Lechon Kawali so satisfying to eat.
This method also makes it easier to control the texture. The meat has already been cooked until tender before frying, while the long first fry prepares the skin for the final high-heat frying.
What is Lechon Kawali?
Lechon Kawali is a Filipino dish made from pork belly that is traditionally simmered or boiled until tender before being deep-fried until the skin becomes crispy. The name comes from the use of a kawali, or Filipino-style wok/pan, for frying.
Unlike roasted lechon, Lechon Kawali is cooked in smaller pieces and fried in oil. The combination of tender pork, rendered fat, and crispy skin makes it a popular Filipino comfort food.
It is commonly served with a vinegar dipping sauce, soy-based dipping sauce, or liver sauce. For this recipe, I like serving it with a simple homemade vinegar dip made with onion and garlic.
Why This Lechon Kawali Method Works
The most important part of this recipe is understanding that the two frying stages have different purposes.
During the first fry, the pork is cooked slowly over low heat. This allows the fat underneath the skin to gradually render while moisture is slowly removed from the skin. You don’t need the skin to become completely blistered during this stage.
In fact, one of my most useful Lechon Kawali tips is to stop the first frying once you see the skin beginning to develop small blisters. The second fry will take care of the dramatic blistering.
After the first fry, the pork is rested for about 30 minutes. This gives the pork time to cool down before the final frying stage.
The second fry is done over very high heat and takes only about one minute. Because the pork has already been cooked, rendered, and partially dried during the first stage, the second fry can focus on quickly crisping and blistering the skin.
The result is Lechon Kawali with crispy, crackling skin and tender meat.
8 Lechon Kawali Tips for Crispy Skin and Tender Meat
1. Cut the pork belly into manageable pieces
For this recipe, I use 2 kg of pork belly and cut it into approximately 300 to 350 gram pieces. Smaller pieces are easier to handle during boiling, drying, and frying.
2. Cook the pork until fork tender
Simmer the pork belly for about 1 to 1½ hours, or until the meat is fork tender. The exact cooking time can vary depending on the thickness and size of your pork pieces. The important thing is that the meat should be tender before frying.
3. Dry the skin before frying
After boiling, place the pork on a cooling rack and allow it to dry for about 1 hour in front of an electric fan. Drying the skin is an important step in making crispy Lechon Kawali. Excess surface moisture can cause oil to splatter and makes it more difficult to achieve good crispiness.
4. Cover the pan briefly at the beginning of the first fry
When you first place the pork into the hot oil, the remaining moisture in the pork can cause the oil to splatter. Cover the pan for the first few minutes of frying to help contain the splattering. Once the oil becomes relatively quiet, remove the cover. This allows steam and moisture to escape instead of being trapped under the cover, helping the skin dry faster during the first frying stage.
5. Keep the first fry very low
The first frying stage is intentionally slow. Heat the oil first, then reduce the heat to low. Allow the oil temperature to settle before adding the pork. Fry the pork slowly for at least 1 hour. The purpose is to gradually render the fat and dry the skin.
6. Look for small blisters
After about 1 hour, check the skin. If the skin is still soft and has not started to blister, continue frying for another 15 minutes. If you still don’t see small blisters, slightly increase the heat to medium and fry for about 3 to 5 minutes, or until you see the skin beginning to blister. You do not need to fully blister the skin during the first fry. Save the dramatic blistering for the second fry.
7. Don’t skip the resting period
After the first frying, remove the pork from the oil and allow it to rest for about 30 minutes in front of an electric fan. This resting period gives the pork time to cool before the final high-heat frying stage.
8. Make the second fry short and very hot
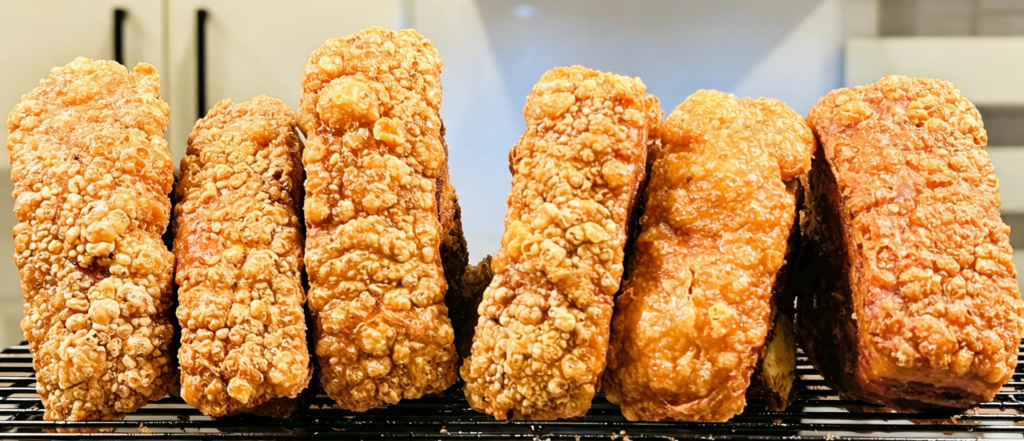
For the second frying, increase the heat to high and allow the oil to become very hot. Return the pork to the oil and fry for approximately 1 minute. Watch the skin carefully. You should see the small blisters rapidly expand and the skin become beautifully crispy. Because the pork has already been cooked and prepared during the first frying stage, you don’t need a long second fry.
Lechon Kawali: Foolproof Tips for Crispy, Tender Pork
Ingredients
For the Pork
- 2 kg pork belly cut into approximately 300-350 grams per piece
- 2 liters water
- 1 tablespoon sea salt or coarse salt
- 1 bulb garlic pounded
- ½ tablespoon whole peppercorns
- 3-4 pieces bay leaves
- 1.5-2 liters cooking oil or enough for deep frying
For the Vinegar Dip
- 1 cup vinegar
- 1 medium red onion chopped
- 6 cloves garlic minced
- Salt to taste
- Ground black pepper to taste
- Sugar to taste, optional
Instructions
How to Make Lechon Kawali
- Place the pork belly in a large pot.
- Add the pounded garlic, bay leaves, whole peppercorns, and salt.
- Pour in the water.
- Bring to a boil, then reduce the heat and simmer for 1 to 1½ hours, or until the pork is fork tender.
- Remove the pork from the cooking liquid and place the pieces on a cooling rack.
- Allow the pork to dry for approximately 1 hour in front of an electric fan.
- Pour the cooking oil into a deep, heavy pan suitable for frying.
- Heat the oil until hot. Once hot, reduce the heat to low and allow the oil to settle before beginning the long first fry.
- Carefully add the pork and fry over low heat for at least 1 hour. Immediately cover the pan for the first few minutes, as the oil may splatter when the pork is first added.
- Remove the cover once the oil has settled down. Leaving the pan uncovered allows moisture to escape instead of being trapped inside the pan, helping the pork skin dry out gradually during the first fry.
- After 1 hour, check the skin. If it is still soft, continue frying for another 15 minutes.
- If the skin still hasn't started to blister, slightly increase the heat to medium and fry for about 3-5 minutes, or until you see small blisters forming.
- Remove the pork from the oil and place it on a rack.
- Let the pork rest for about 30 minutes in front of an electric fan.
- For the second fry, increase the heat to high and allow the oil to become very hot.
- Carefully return the pork to the hot oil and fry for approximately 1 minute, or until the skin becomes beautifully blistered and crispy.
- Remove from the oil and drain.
- Slice and serve with vinegar dip.
How to Make the Vinegar Dip
- Combine the vinegar, chopped red onion, minced garlic, salt, and ground black pepper in a bowl.
- Add a little sugar if you prefer a slightly sweeter vinegar dip.
- Mix well and allow the flavors to blend for a few minutes before serving with the Lechon Kawali.
Can You Cook Lechon Kawali in an Oven or Air Fryer?
For this particular technique, I recommend deep frying because the very hot oil provides the rapid heat transfer needed for the dramatic blistering that makes this Lechon Kawali special.
An oven or air fryer can be used to reheat and crisp already-cooked pork, but I would not consider it a direct replacement for the two-stage deep-frying method in this recipe. The texture and blistering of the skin may be different.
How to Store Lechon Kawali
If you have leftover cooked Lechon Kawali, allow it to cool promptly and refrigerate it in an airtight container. For best quality, refrigerated cooked pork should generally be consumed within 3 to 4 days.
If you want to keep it longer, you can freeze the cooked pork in an airtight freezer-safe container or freezer bag. Remove as much excess air as practical before freezing.
For the best crispy texture, I recommend storing the pork before the final crisping stage whenever possible. The final high-heat fry can then be done shortly before serving.
When reheating refrigerated or frozen pork, make sure it is heated thoroughly before serving.
Can I Freeze Lechon Kawali?
Yes. Lechon Kawali can be frozen after it has been properly cooked and cooled.
For better texture, I prefer the idea of preparing the pork through the first frying stage, cooling it properly, and then freezing it for future use. The final high-heat frying can be done closer to serving time.
If freezing, package the pork well to prevent freezer burn and excess moisture exposure.
When working with frozen pork and hot oil, be particularly careful. Ice and moisture can cause dangerous oil splattering. Make sure the surface is free from visible ice and handle the pork carefully.
Frequently Asked Questions
Why is my Lechon Kawali not crispy?
The skin may still contain too much moisture, or the first frying stage may not have rendered enough fat and dried the skin. Make sure the pork is thoroughly dried before frying and give the first frying enough time.
Why do I fry Lechon Kawali twice?
The two frying stages have different purposes. The first fry slowly renders the fat and dries the skin. The second fry uses very high heat to rapidly blister and crisp the skin.
How long should I fry Lechon Kawali the first time?
For this recipe, I recommend starting with at least 1 hour over very low heat. If the skin is still soft, continue for another 15 minutes. You are looking for the skin to become firm and begin developing small blisters.
Why don’t I fully blister the skin during the first fry?
You don’t need to. The first fry prepares the skin by rendering fat and removing moisture. The very high heat of the second fry is what creates the dramatic final blistering.
Why does my Lechon Kawali have blisters only on some parts?
Uneven blistering can be caused by several factors, including differences in skin thickness and moisture, how the pork sits in the oil, oil temperature, and heat distribution from the cookware. A pan that distributes heat evenly can help, but cookware is not the only factor.
Why do I need to rest the pork before the second fry?
The resting period allows the pork to cool between the two frying stages. This gives you better control over the final high-heat frying, which is intended to be very short.
Can I use other cuts of pork?
Pork belly is ideal because it contains a good combination of meat, fat, and skin. Other skin-on pork cuts can be used, but the cooking and frying times may need to be adjusted depending on their size and thickness.
Lechon Kawali Recipe Video
For more recipe videos, visit our YouTube channel, Onyok Kokok, by clicking the link below.
https://www.youtube.com/@onyokkokok8538
Discover more step-by-step written recipes by clicking the link below.
Filipino Recipes & Cooking – Onyok Kokok Kitchen
Final Note
This Lechon Kawali recipe is all about patience and heat control. Don’t rush the first frying stage. The long, low-temperature fry is where you slowly render the fat and prepare the skin. You don’t need to achieve the final crispy texture yet.
Once you see those small blisters, that’s your cue that the pork is ready for the resting stage. After about 30 minutes, the final high-heat fry takes only around 1 minute to transform the skin into beautifully blistered, crackling, crispy perfection.
The result is the kind of Lechon Kawali I love: sobrang lutong sa labas, sobrang lambot sa loob.