Easy Nilupak na Kamoteng Kahoy Recipe (Classic Filipino Favorite)
Nilupak na Kamoteng Kahoy Recipe (Easy Homemade Mashed Cassava)
If you’re looking for an easy, delicious, and traditional Filipino merienda, this Nilupak na Kamoteng Kahoy Recipe is one of the best recipes you can make at home. Made with freshly boiled cassava, butter, condensed milk, sugar, and topped with grated cheese, this classic Filipino delicacy is creamy, rich, and incredibly satisfying.
Nilupak is a well-loved Filipino kakanin that has been enjoyed for generations. The word “nilupak” comes from the Filipino word “lupak,” which means to pound or mash. Traditionally, cassava or other root crops were pounded using a large wooden mortar and pestle until smooth and sticky. Today, making Nilupak na Kamoteng Kahoy is much easier because you can simply mash the cooked cassava using a fork and your hands while it’s still warm.
Cassava, also known as kamoteng kahoy, is one of the most popular root crops in the Philippines. It is naturally gluten-free, and affordable, making it a favorite ingredient for many Filipino desserts and snacks. Aside from nilupak, cassava is commonly used to make cassava cake, pichi-pichi, suman, and many other kakanin.
One of the reasons why this Nilupak na Kamoteng Kahoy Recipe is so popular is because it requires only a few simple ingredients. The natural flavor of cassava blends perfectly with butter and condensed milk, creating a soft and creamy texture with just the right amount of sweetness. The grated cheddar cheese on top adds a delicious salty contrast that makes every bite even better.
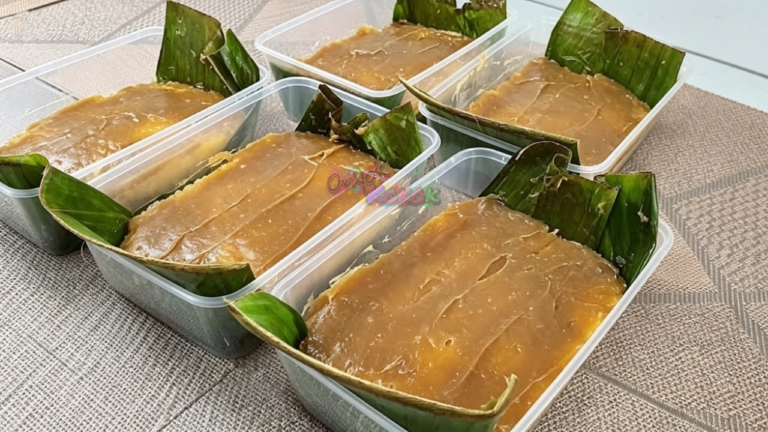
Unlike baked cassava desserts, nilupak is not baked after mixing. Once the cassava is cooked and mashed, it is simply shaped on a serving plate, brushed with butter, sprinkled with cheese, sliced, and ready to serve.
Whether you’re preparing merienda for your family, bringing food to gatherings, or simply craving a nostalgic Filipino snack, this easy homemade recipe is guaranteed to become one of your favorites.
8 Helpful Tips for the Best Nilupak na Kamoteng Kahoy Recipe
1. Peel the cassava thickly.
The brown skin and pinkish layer underneath are bitter and should be completely removed before cooking.
2. Always remove the woody core.
After boiling, you’ll notice a thick string running through the center of each cassava piece. Remove this before mashing for a smoother texture.
3. Cook until fork tender.
The cassava should be very soft before mashing. If it’s still firm, continue simmering for a few more minutes.
4. Mash while still warm.
Warm cassava is much easier to mash and absorbs the butter and condensed milk better.
5. Wear food-safe gloves.
Mixing with your hands produces a smoother consistency while protecting your hands from the heat.
6. Adjust the sweetness.
This recipe uses only 2 tablespoons of sugar because condensed milk already adds sweetness. Feel free to add more according to your taste.
7. Use room temperature butter.
Soft butter mixes much more easily into the mashed cassava.
8. Serve slightly warm or at room temperature.
Nilupak tastes great either way and becomes firmer as it cools.
Easy Nilupak na Kamoteng Kahoy Recipe (Classic Filipino Favorite)
Ingredients
Main Ingredients
- 1 kg fresh cassava unpeeled or about 850 grams peeled
- ½ cup condensed milk
- ½ cup butter room temperature
- 2 tablespoons white sugar adjust to taste
- ½ teaspoon salt
- Tap water for boiling
Toppings
- Grated cheddar cheese
- 1-2 tablespoons butter room temperature
Instructions
- Peel the cassava completely, removing both the thick brown skin and the pinkish layer underneath. Wash thoroughly.
- Place the peeled cassava in a cooking pot.
- Add enough water until the cassava is fully submerged.
- Bring to a boil over high heat.
- Once boiling, reduce to low heat and simmer for about 10–15 minutes or until fork tender.
- Drain the cassava and allow it to cool just enough to handle comfortably.
- Remove the thick woody string found in the center of each cassava piece.
- Mash the cassava using a fork first.
- Continue mashing using your hands while wearing food-safe gloves until smooth.
- Add the condensed milk, butter, sugar, salt.
- Mix and mash thoroughly until everything is evenly combined.
- Transfer the mixture into a 12 × 9-inch serving plate.
- Flatten and shape into an even rectangle.
- Brush the top generously with softened butter.
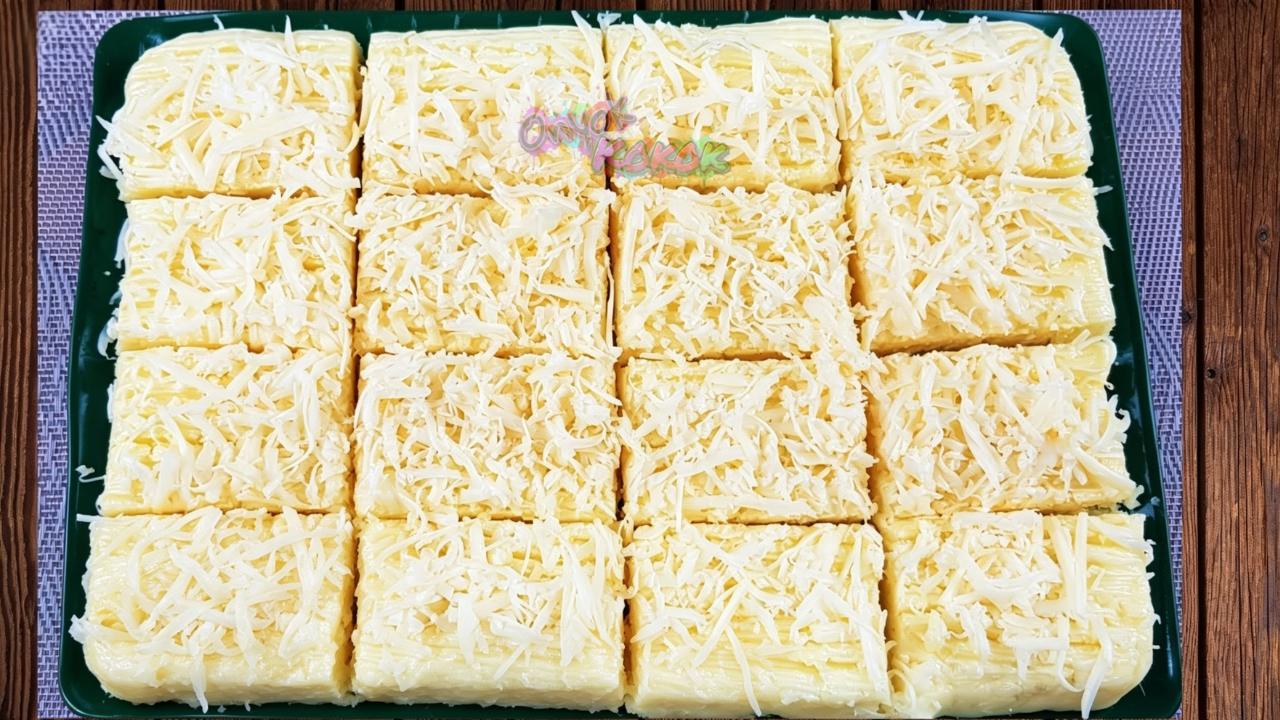
- Use a fork to create decorative lines on top.
- Sprinkle generously with grated cheddar cheese.
- Slice into serving portions.
- Serve and enjoy!
Other Ways of Cooking
Although this Nilupak na Kamoteng Kahoy Recipe is traditionally prepared without baking, you may also try these serving variations:
Chilled Nilupak
Refrigerate for 1 to 2 hours before serving if you prefer a firmer texture.
Toasted Cheese Topping
After adding the grated cheese, briefly broil the top in the oven for 2 to 3 minutes until the cheese slightly melts. Watch carefully to prevent burning. This step is optional and is not part of the traditional recipe.
Storage
Because cassava contains moisture, proper storage helps maintain freshness.
- Store leftovers in an airtight container.
- Refrigerate for up to 3 days.
- Before serving, allow it to sit at room temperature for about 15–20 minutes or microwave briefly until slightly warm.
- You may also enjoy it cold straight from the refrigerator.
Can you freeze it?
Yes. Wrap individual portions tightly and freeze for up to 2 months. Thaw overnight in the refrigerator before serving. Keep in mind that freezing may slightly change the texture.
Frequently Asked Questions
Q: Why is my nilupak sticky?
A: Cassava naturally becomes sticky after cooking and mashing. This is completely normal and is one of the characteristics of a good nilupak.
Q: Can I use frozen cassava?
A: Yes. Frozen cassava works well for this recipe. Simply cook it until fork tender before mashing.
Q: Can I use margarine instead of butter?
A: Yes. Margarine can be used as a substitute, but butter gives the nilupak a richer flavor and creamier texture.
Q: Can I reduce the sugar?
A: Absolutely. Since condensed milk already adds sweetness, you can reduce or even omit the additional sugar according to your taste.
Q: Can I use fresh grated coconut instead of cheese?
A: Yes. Fresh grated coconut is another traditional topping for nilupak and gives it a delicious, authentic flavor.
Q: Why do I need to remove the center string of the cassava?
A: The thick fibrous core is tougher than the rest of the cassava. Removing it helps achieve a smoother and creamier texture.
Q: Can I make nilupak ahead of time?
A: Yes. You can prepare it a day ahead and store it in the refrigerator. Let it sit at room temperature for a few minutes before serving, or enjoy it chilled.
Q: Is cassava the same as kamoteng kahoy?
A: Yes. Cassava and kamoteng kahoy are the same root crop. “Cassava” is the English term, while “kamoteng kahoy” is the Filipino name.
Q: Can I use evaporated milk instead of condensed milk?
A: Yes, but the nilupak will be less sweet and less rich. If using evaporated milk, you may need to add more sugar to achieve your preferred sweetness.
Nilupak na Kamoteng Kahoy Recipe Video
For more recipe videos, visit our YouTube channel, Onyok Kokok, by clicking the link below.
https://www.youtube.com/@onyokkokok8538
Discover more step-by-step written recipes by clicking the link below.
Filipino Recipes & Cooking – Welcome to Onyok Kokok Kitchen
Final Note
This easy Nilupak na Kamoteng Kahoy Recipe is proof that simple ingredients can create something truly delicious. Soft, creamy, buttery, and topped with cheesy goodness, this classic Filipino kakanin is perfect for everyday merienda or sharing during family celebrations. Whether you’re making it for the first time or recreating a childhood favorite, this homemade nilupak is sure to bring comfort and smiles with every bite.